How to Install a Whoop Strap: A Step-by-Step Guide
How to Install a Whoop Strap: A Step-by-Step Guide
Upgrade your Whoop experience with a new strap!** Follow this simple guide to install your Whoop strap quickly and easily.
1. Preparation:
* Prepare your new Whoop strap.
2. Remove the Old Strap:
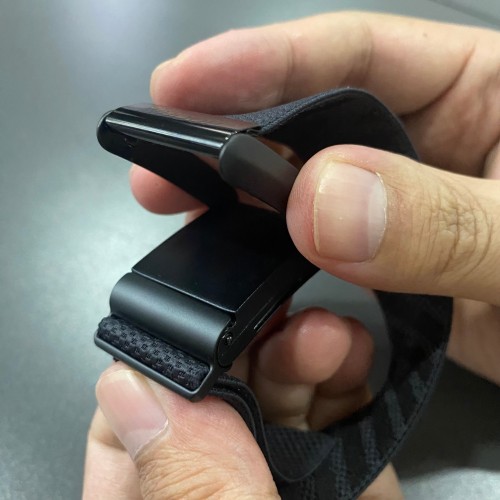
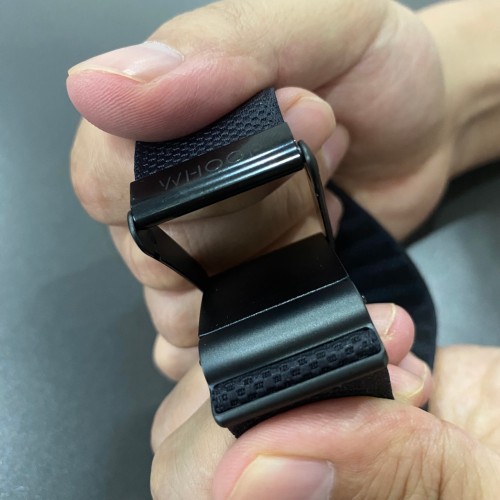
01. Pull the connector firmly:Grip the connector near the logo and pull it upward to release the strap.
02. Separate the strap from the device:Push the connector inward to detach it from the device.
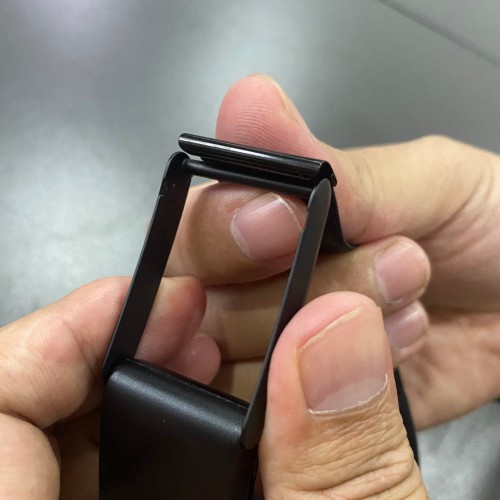
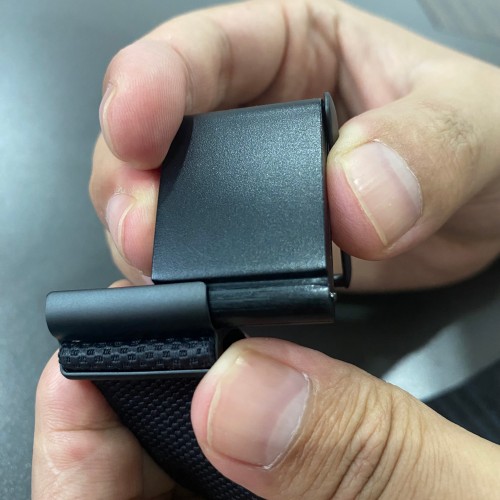
03. Remove the metal clasp:Lift the metal clasp outward to disconnect it from the device.
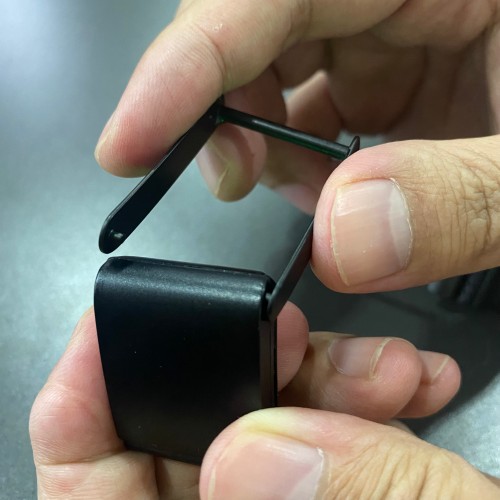
04. Slide off the strap:Gently slide the strap out of the device to completely remove it.
3. Install the New Strap:
01. Slide the new strap into the device:Align the new strap with the groove on the device and slide it in firmly.

02. Attach the metal clasp:Secure the metal clasp to the device by pressing it into place.

03. Connect the other end of the strap:Pull the strap gently and attach the other end to the metal clasp.

04. Press firmly until it clicks:Adjust the strap to the desired position and press down firmly until you hear a "click," indicating the strap is securely attached.

4. Adjust the Strap Length:
* Adjust the strap length to fit your wrist comfortably.
* Thread the excess strap through the loop and tighten it for a secure fit.
5. You're Done!
* Congratulations! You’ve successfully installed your Whoop strap.
* Enjoy a fresh, comfortable, and stylish experience with your Whoop device!
Watch the Video Tutorial!
For a more visual and detailed guide, check out our step-by-step video tutorial below. The video walks you through each step of the installation process, making it even easier to replace your Whoop strap. Whether you're a first-time user or just need a refresher, this video will help you get your new strap installed quickly and correctly.
https://youtube.com/shorts/6yaG4Au8nEg?feature=share